
title: “How to Self-Host Vaultwarden 1.37.3 on Linux in 2026”
date: 2026-09-30 21:10:40
categories: [linux-software]
tags: [vaultwarden, password-manager, self-hosted, docker, linux]
How to Self-Host Vaultwarden 1.37.3 on Linux in 2026
If you keep your passwords in a managed cloud vault, you are trusting a
third party to keep its infrastructure, billing system, and TLS
configuration honest for the rest of your life. The Linux community has
long preferred a different answer: run the server yourself, on hardware
you control, with code that ships in plain Rust binaries. Vaultwarden
is the de-facto self-hosted Bitwarden replacement, and the freshly
tagged 1.37.3 release (13 September 2026) brings compatibility with
the latest Bitwarden clients, eight security fixes in the previous
1.37.0, and an updated web vault. This guide walks through deploying it
on Linux in 2026 the way the upstream README and Discourse community
recommend: Docker container, persistent volume, reverse proxy with
automatic HTTPS.
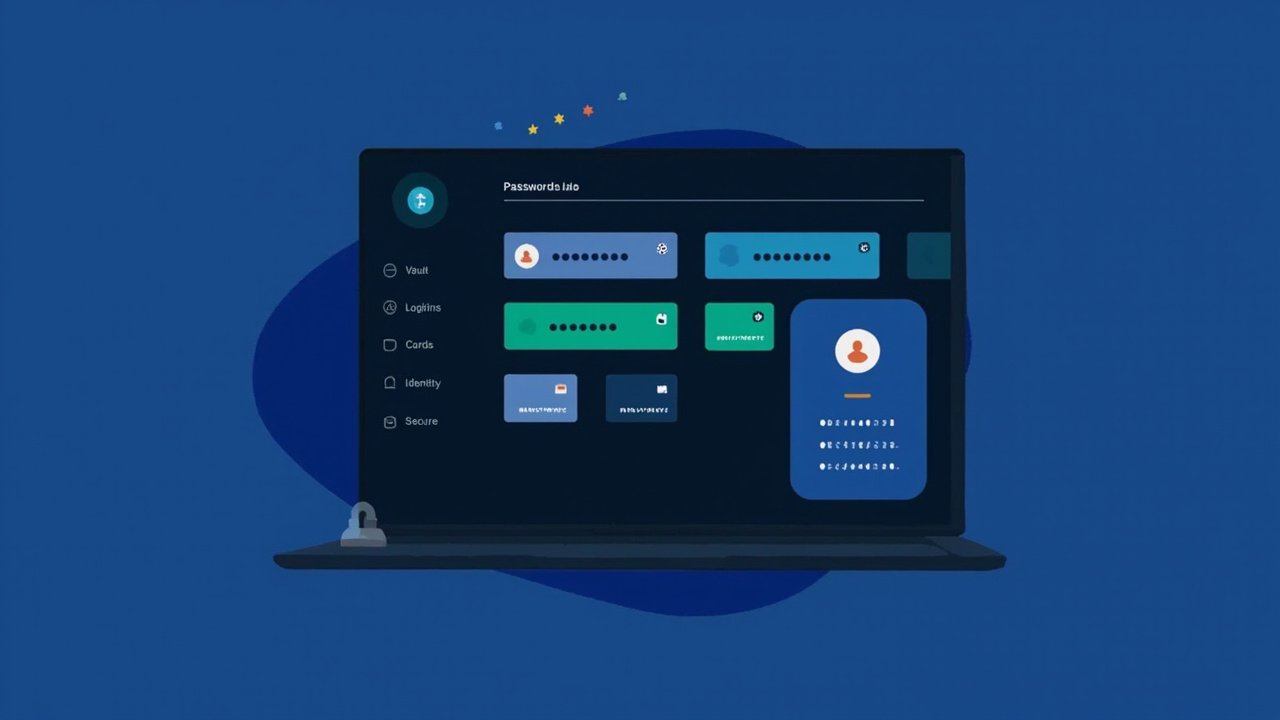
Figure: AI-generated illustration. A real Vaultwarden dashboard screenshot was unavailable at time of writing — the rendered layout approximates the actual web vault categories (Logins, Cards, Identity, Secure Notes).
What Vaultwarden actually is
Vaultwarden (formerly bitwarden_rs) is an unofficial, Bitwarden-API
compatible server implementation written in Rust. The official Bitwarden
server is a .NET/C# stack with a much larger memory footprint and a
hard dependency on Microsoft SQL Server or PostgreSQL plus MSSQL
licensing overhead. Vaultwarden replaces all of that with a single Rust
binary, SQLite for almost all deployments, and a container image around
20 MB on disk. It speaks the same client API as upstream Bitwarden,
which means every official client (desktop, mobile, browser extension,
CLI) works against your server without modification — you simply point
the client at your own URL in the settings.
The trade-off is that Vaultwarden is not associated with Bitwarden Inc.,
which means:
- No premium Bitwarden features (org policy controls, SCIM, the
commercial SSO connectors, audit log streaming) are paid features
here — the unofficial server unlocks them all by default. TOTP
storage, file attachments, emergency access, breach reports, the
Authenticator + Email + FIDO2 WebAuthn + YubiKey + Duo stack all
ship in the free build. - Support happens on the
Vaultwarden Discourse and
GitHub Discussions, not the Bitwarden support portal. The README is
explicit: “When using this server, please report any bugs or
suggestions directly to us, regardless of whatever clients you are
using. DO NOT use the official Bitwarden support channels.” - The AGPL-3.0 licence applies. If you fork it, your fork must also be
AGPL.
For a personal or family vault, none of those caveats are blockers. For
a regulated enterprise where audit trails must be SOC2-attested by
Bitwarden Inc., the official product is the only acceptable choice.
What is new in 1.37.x
The 1.37 line dropped in mid-2026 and is the series you want to be on
in late 2026. Highlights from the release notes (read via
api.github.com/repos/dani-garcia/vaultwarden/releases):
- 1.37.3 (2026-09-13) — latest at time of writing.
- 1.37.2 (2026-08-25) — adds compatibility support for Bitwarden
clients 2026.8.0 and newer, fixessendmailexecutable permission
checks, includes user email addresses in successful-login audit logs.
This is the version that unblocks the Bitwarden desktop client 2026.8
build, which earlier 1.36.x servers would refuse to talk to. - 1.37.1 (2026-07-30) — patch release.
- 1.37.0 (2026-07-29) — adds support for Bitwarden clients
2026.7.0 and newer (without it, clients could log in but saw an
empty vault — a regression you’d only notice after a client auto-update
in the background), eight security fixes covering icon fetching,
organisation access controls, Bitwarden Send limits, and WebSocket
abuse, web vault bumped to 2026.6.4, email two-factor
authentication for the CLI, improved reverse-proxy security and rate
limiting for unauthenticated requests.
The takeaway: if you have been running 1.36.x or older, upgrade. The
1.37 series is where client compatibility, security fixes, and the
modern web vault all converge.
Before you start: the things you actually need
The install is small, but a few prerequisites are non-negotiable.
- A Linux host reachable on TCP 80 and 443 from the public internet
(or your Tailscale network). For Let’s Encrypt HTTP-01 challenges you
need port 80 open at minimum; DNS-01 (e.g. via Cloudflare) works too
and is the right answer for most home networks behind NAT. - A DNS A/AAAA record pointing at the host (e.g.
vault.example.com). - Docker Engine 24+ and the Compose plugin. On Ubuntu 26.04 LTS the
docker.iopackage is fine; on Fedora 41dockerfrom the Moby repo.
Verify withdocker --versionanddocker compose version. - A reverse proxy that can terminate TLS. This guide uses Caddy
because its config language is the shortest of the three practical
options (Caddy, Nginx, Traefik) and automatic Let’s Encrypt issuance is
one line. If you already run Nginx or Traefik, the same Vaultwarden
container talks to all of them unchanged. - A backup target for
/vw-data/. SQLite + the attachments
directory is the entire server state. Anything else is regenerable.
Note on HTTPS: Vaultwarden’s web vault requires a secure context
to use the Web Crypto API. The official advice (README §Usage) is that
the web vault only works viahttp://localhost:8000or over HTTPS.
Plain HTTP from a remote host will load the login page but fail at the
crypto step. Plan for HTTPS from day one.
Step 1 — pull and run the container
The canonical launch from the upstream README is one docker run. For a
real deployment, Compose is cleaner — one file, version-controlled,
survives reboots.
Create /opt/vaultwarden/compose.yaml:
services:
  vaultwarden:
    image: vaultwarden/server:1.37.3
    container_name: vaultwarden
    restart: unless-stopped
    environment:
      DOMAIN: "https://vault.example.com"
      SIGNUPS_ALLOWED: "true"        # flip to "false" after you create your account
      INVITATIONS_ALLOWED: "true"
      SHOW_BRANDING: "false"
      LOG_LEVEL: "info"
    volumes:
      - ./vw-data:/data
    ports:
      - 127.0.0.1:8080:80            # bind to localhost; Caddy will reverse-proxy
Bring it up:
cd /opt/vaultwarden
docker compose pull
docker compose up -d
docker compose logs --tail=20 vaultwarden
You should see a Rocket framework startup banner with no panic, no
“database locked” messages, and a line like Rocket has launched from http://0.0.0.0:80. If you see SQLite migration errors, you are
probably upgrading from a very old install — check the migration
section below.
Verify the container is listening on 127.0.0.1:8080:
curl -I http://127.0.0.1:8080/aliveThe response should be 204 No Content. If it is, the server is alive.
Step 2 — Caddy as a reverse proxy with automatic HTTPS
Caddy’s Caddyfile is the shortest possible reverse-proxy config that
still produces a valid Let’s Encrypt certificate.
/etc/caddy/Caddyfile:
vault.example.com {
    encode gzip zstd
    reverse_proxy 127.0.0.1:8080
}
Enable and start:
sudo systemctl enable --now caddy
sudo systemctl status caddy --no-pager
Caddy listens on 80 and 443, requests a Let’s Encrypt certificate for
vault.example.com automatically, renews it in the background, and
proxies encrypted traffic to the Vaultwarden container on
127.0.0.1:8080. There is no nginx -s reload and no certbot timer to
remember. The entire TLS story is two lines of Caddyfile.
If you prefer Nginx, the equivalent config (assuming you run certbot
separately) is roughly:
server {
    listen 443 ssl http2;
    server_name vault.example.com;
    ssl_certificate     /etc/letsencrypt/live/vault.example.com/fullchain.pem;
    ssl_certificate_key /etc/letsencrypt/live/vault.example.com/privkey.pem;
    location / {
        proxy_pass http://127.0.0.1:8080;
        proxy_set_header Host              $host;
        proxy_set_header X-Real-IP         $remote_addr;
        proxy_set_header X-Forwarded-For   $proxy_add_x_forwarded_for;
        proxy_set_header X-Forwarded-Proto $scheme;
    }
}
Caddy is shorter. Both work.
Step 3 — create your account and lock signups
Browse to https://vault.example.com. The web vault should load with
the Bitwarden logo (and a small Vaultwarden credit at the bottom —
that’s intentional, see the disclaimer).
Click Create account, fill in your email and a strong master
password. The master password is the only thing standing between an
attacker with read access to /vw-data/ and your entire password
collection — pick something you can remember and that is not used
anywhere else. Vaultwarden uses Argon2id for KDF with parameters you can
tune in the admin panel.
Once your account works, lock down signups by editing
compose.yaml:
SIGNUPS_ALLOWED: "false"
INVITATIONS_ALLOWED: "false"
Then docker compose up -d to recreate the container. The
SIGNUPS_ALLOWED flag only blocks new account creation — your existing
account is unaffected. If you want to invite family members later, flip
it back temporarily or use the admin panel’s user invite button.
Step 4 — connect the official clients
The whole point of Vaultwarden is that the official Bitwarden clients
work against it. On every device:
- Install the official Bitwarden client (Linux desktop, Android, iOS,
browser extension). - Open the client, go to Settings → Self-hosted.
- Set Server URL to
https://vault.example.com(the public URL,
nothttp://127.0.0.1:8080). - Log in with the email and master password you just created.
The desktop and mobile clients will pull the web vault’s branding if you
left SHOW_BRANDING: "true", which can confuse users (“is this
Bitwarden?”). Setting SHOW_BRANDING: "false" (as in the Compose file
above) makes the chrome look like the upstream Bitwarden client. The
actual data and sync behaviour are identical.
If a client refuses to log in with “invalid grant” or “unexpected server
response”, check the Vaultwarden version against the client’s
self-hosted requirements.
This is the exact failure mode 1.37.0 fixed — older servers + newer
clients = empty-vault regression. Stay current.
Step 5 — backups
A self-hosted vault without backups is a single-disk-failure away from
losing every password you have. The backup target is /opt/vaultwarden/vw-data,
which contains:
db.sqlite3— the entire vault (ciphertext; useless without the
master password, but critical to back up regardless).attachments/— file attachments uploaded via the Send/Attachment
feature.icon-cache/— favicons for vault entries.rsa_key.pem,rsa_key.pub.pem— the server’s own RSA key pair used
for organisation key exchange.send/— temporary storage for Bitwarden Send items.
A minimal daily backup that survives silent corruption:
#!/bin/bash
set -euo pipefail
SRC=/opt/vaultwarden/vw-data
DST=/srv/backups/vaultwarden/$(date +%F)
mkdir -p "$DST"
sqlite3 "$SRC/db.sqlite3" ".timeout 5000" "PRAGMA wal_checkpoint(TRUNCATE);"
tar --exclude='IconCache*' -cf - -C "$SRC" . |
    gzip -9 > "$DST/vw-data-$(date +%FT%H%M).tar.gz"
find /srv/backups/vaultwarden -mtime +60 -type f -delete
Run it nightly via a systemd timer. The PRAGMA wal_checkpoint step
forces a clean SQLite write-ahead-log checkpoint so the backup contains
all committed transactions, not the in-flight ones in -wal. Ship the
result off-host — restic to a remote backend, rclone sync to a
cloud bucket, or scp to a second physical box. Treat the backup as
encrypted at rest by SQLite itself; it is useless without the master
password, but you should still encrypt the transport and the storage
device.
Step 6 — upgrade
cd /opt/vaultwarden
docker compose pull
docker compose up -d
That’s it. The container is replaced in place; /vw-data persists. The
schema migrations run automatically on first boot of a new version — if
they fail, the container exits and the logs show the offending
migration. The official upgrade story is “stop, pull, up”. For a major
schema bump (1.x → 2.x when that eventually happens), read the GitHub
release notes first; some have required manual sqlite3 adjustments.
Architecture: what runs where
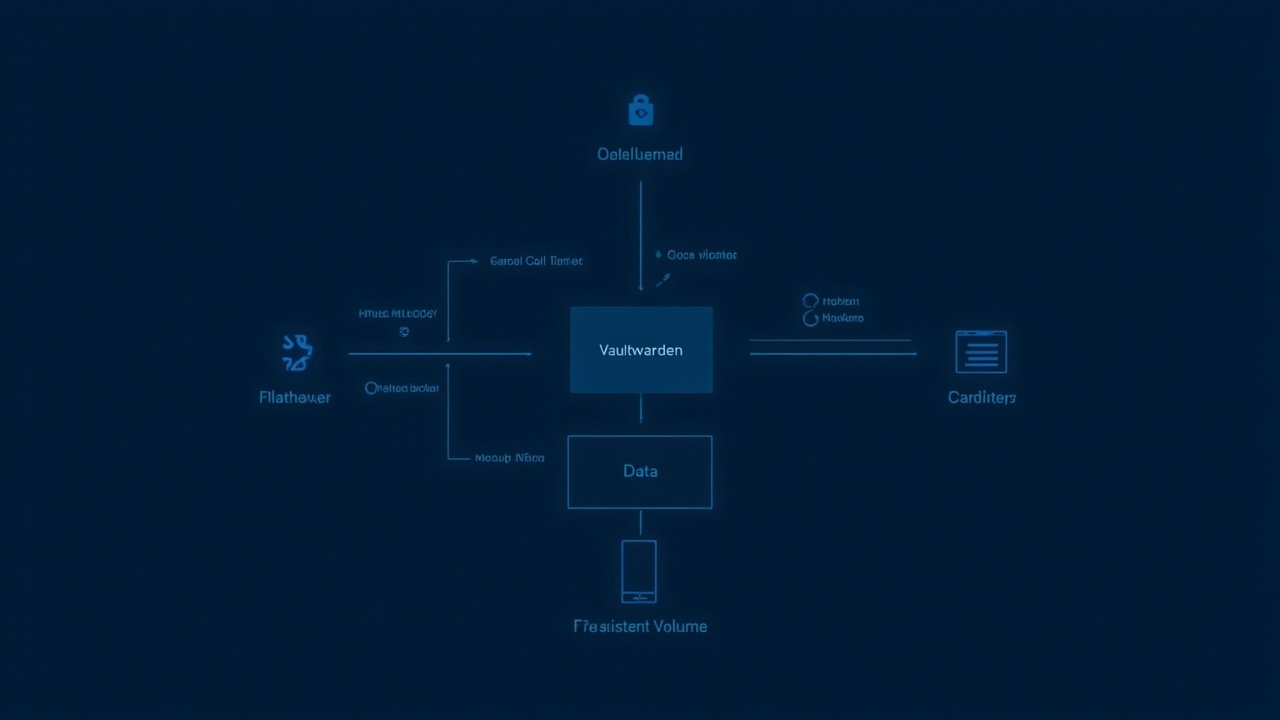
Figure: AI-generated architecture diagram. The on-image labels are decorative; the actual component names are: Vaultwarden container (Rust + SQLite), persistent volume at /vw-data/, Caddy reverse proxy on ports 80/443 with automatic Let’s Encrypt certificates, official Bitwarden clients on desktop/mobile/CLI connecting over HTTPS.
The component count is small on purpose: container, reverse proxy,
volume, clients. There is no external database, no Redis cache, no
mail-relay dependency unless you enable email 2FA. A Raspberry Pi 4
with 2 GB RAM runs it comfortably for a family of four.
When NOT to self-host Vaultwarden
Be honest about the operational cost:
- If you forget your master password, no one can recover your vault.
Not the upstream maintainers, not Bitwarden Inc., not the Rust
Foundation. Store the master password in two physical locations
(e.g. a sealed envelope in a safe + a paper backup at a relative’s
house). The encryption is end-to-end zero-knowledge by design. - If your host disappears (cloud VM terminated, house fire, ISP
disconnects you), your passwords are still in the SQLite file on your
backup — but you also need that backup to actually be there. Off-host
backup is non-optional. - If you want shared folders with per-user permissions, organisations,
and audit logs that satisfy an external auditor, the unofficial
Vaultwarden admin panel is functional but not certified. For SOC2
audit trails, pay Bitwarden Inc. for the official product.
Wrapping up
Vaultwarden 1.37.3 on Linux is the most boring, reliable way to keep
your passwords in 2026 — a single container, a Caddyfile, a
Let’s Encrypt certificate, and a tar of /vw-data/ going to a second
machine every night. No monthly bill, no trust transfer, no surprise
acquisition. The official Bitwarden clients are excellent, they all
work against your own server, and the data never leaves the hardware
you can physically touch.
Project home: github.com/dani-garcia/vaultwarden ·
Discourse: vaultwarden.discourse.group ·
Latest release: 1.37.3 (2026-09-13)
Comments