
How to Set Up Syncthing 2.1 on Linux in 2026
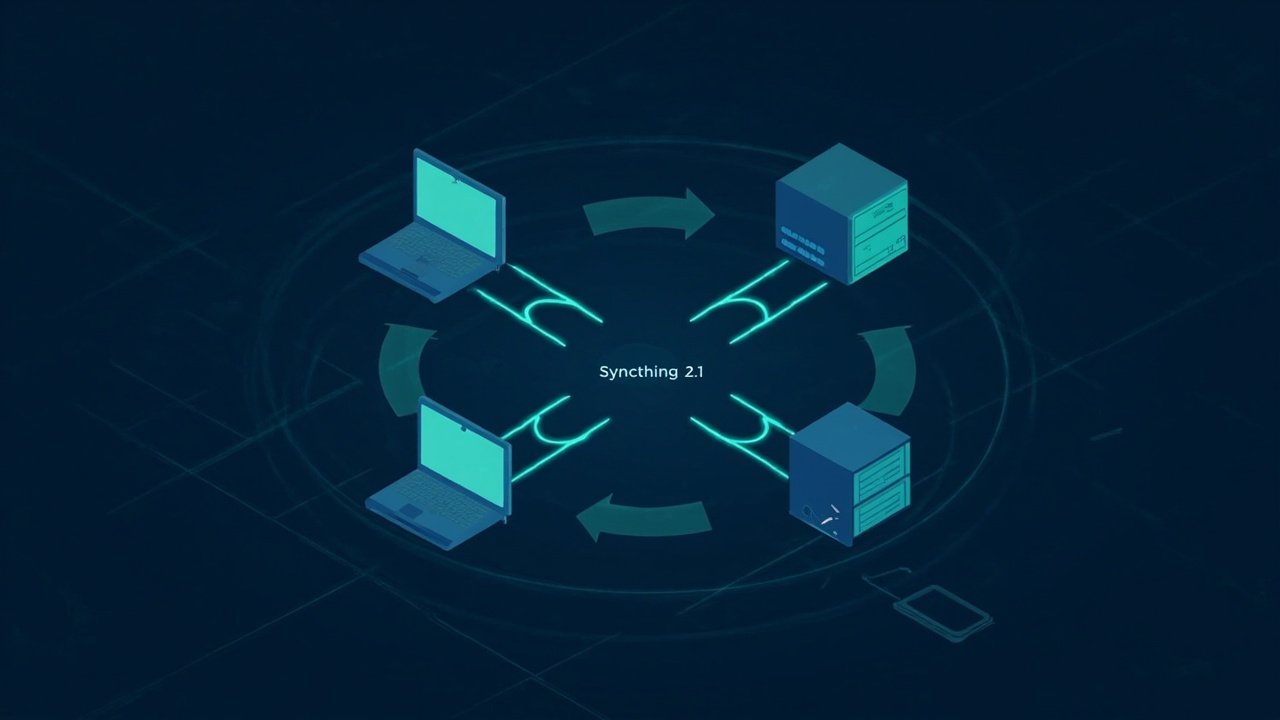
AI-generated illustration (not an official screenshot) of the Syncthing 2.1 mesh topology.
If you have two or more computers — a laptop, a home server, a NAS, an old desktop acting as a backup — you have probably bumped into the awkward gap that lives between “cloud sync” and “manually copying files with a USB stick.” Cloud sync asks you to trust someone else’s disk. Manual copying is fine until it is not. Syncthing is the third option that has been quietly working since 2013: it syncs files directly between your devices, peer-to-peer, encrypted in transit, with no central server in the loop.
Two months ago the project shipped the long-awaited 2.1.3 point release on top of the major 2.0 update (August 2025), and it is the most friendly the tool has ever been on Linux. This post walks through what 2.1 actually changes, why it matters, and how to install and configure it on a modern Linux box without falling into the usual traps.
Official site: https://syncthing.net — free, open source under MPL-2.0, written in Go.
What is Syncthing, in one paragraph
Syncthing is a small (~12 MB) Go daemon that runs on Linux, macOS, Windows, BSD, and even Android. Each running instance is identified by a Device ID — a long cryptographic fingerprint that you trade with the devices you want to share files with. Once two devices trust each other’s IDs and agree on a shared folder, files flow both ways, encrypted with TLS, over local Wi-Fi when possible, or over the Internet via relay servers when not. There is no cloud account, no upload quota, and no third party that can ever read your data, because your data never leaves your machines.
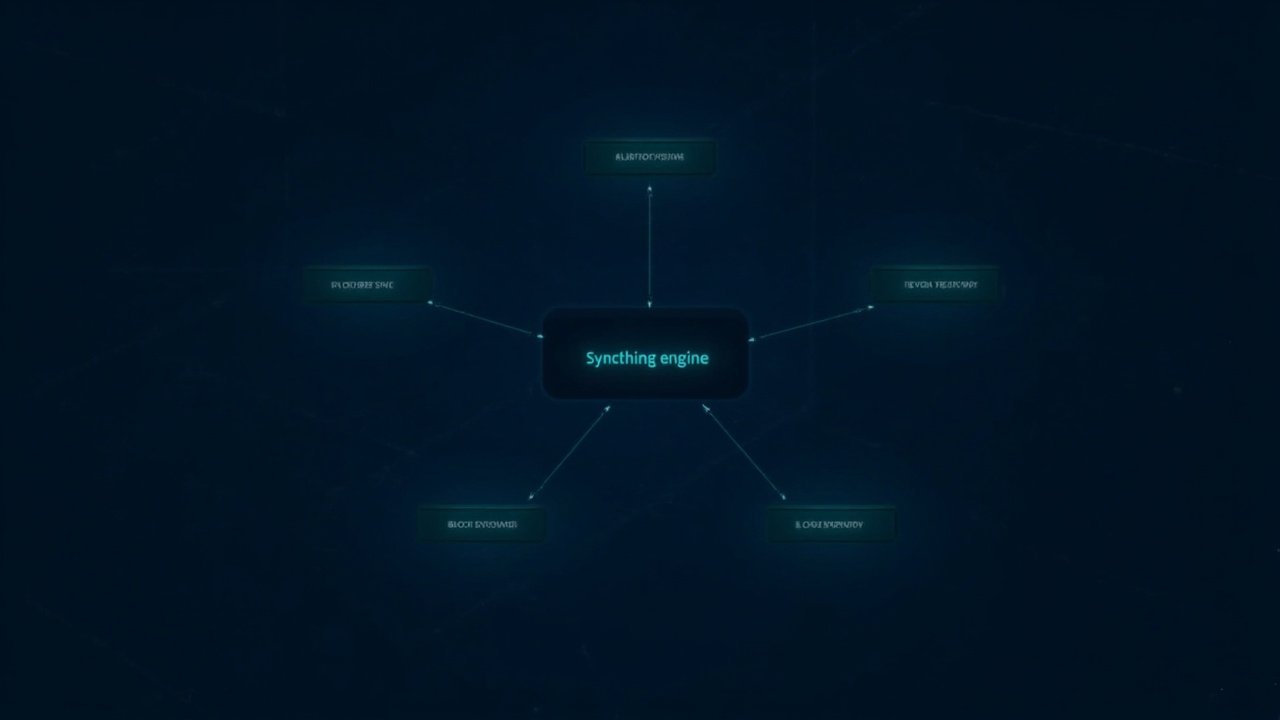
AI-generated diagram (not an official screenshot) of Syncthing’s internal architecture.
The web GUI you see at http://127.0.0.1:8384 is just a JavaScript frontend that talks to the same HTTP API the daemon exposes. It is the same code on every platform — that is why the Linux setup below works identically on, say, a Raspberry Pi running Raspberry Pi OS, an Ubuntu 24.04 desktop, and a Fedora Server VM.
Why 2.1, and why now
The 2.0 release in August 2025 swapped Syncthing’s internal LevelDB index for SQLite, which made large folder scans noticeably faster and made rolling upgrades across uneven versions safer. The 2.1 series that followed is mostly bug-fix and polish, with one user-facing change that Linux users care about: the default STHOMEDIR (state directory) changed to follow the XDG Base Directory spec. On Linux, Syncthing now looks in $XDG_STATE_HOME/syncthing and falls back to ~/.local/state/syncthing, instead of the historical ~/.config/syncthing.
That change is small, but it matters if you have been running Syncthing since the 1.x days. Your old config under ~/.config/syncthing still works (Syncthing will keep using it if it is already there), but on a fresh install you should expect the new path. The migration is automatic on the 2.x line.
The 2.1.3 release shipped on August 5, 2026 and is the current stable. New users should start there.
Install on Linux: pick your method
You have three reasonable paths on Linux in 2026. Pick the one that matches your distribution.
Option A: use your distro’s package (easiest)
Most mainstream distros ship Syncthing in their main repos, but it is almost always a release behind. If your distro has 2.1.x in its repo, use it. Check with:
syncthing --versionOn Fedora, RHEL, openSUSE, Tumbleweed, and Endeavour (Arch-based):
# Fedora / RHEL / Nobara
sudo dnf install syncthing

# Arch / Endeavour / Manjaro
sudo pacman -S syncthing

# openSUSE Tumbleweed / Leap
sudo zypper install syncthing
On Ubuntu 24.04 LTS (Noble) and Debian 12 (Bookworm), the upstream version is usually 1.x. If you specifically want 2.x on those, see Option B.
Option B: the official upstream tarball (newest)
Go to https://syncthing.net/downloads/ and grab the syncthing-linux-amd64-v2.1.3.tar.gz (or -arm64 / -arm for your architecture). The site serves a SHA-256 signed manifest; the project documents that syncthing --version will refuse to start if its binary has been tampered with, so you can rely on the upstream tarball as long as you downloaded it over TLS.
cd ~/Downloads
tar -xzf syncthing-linux-amd64-v2.1.3.tar.gz
sudo mv syncthing-linux-amd64-v2.1.3/syncthing /usr/local/bin/
syncthing --version
# syncthing v2.1.3 "Fermium Reunion" (go1.23 linux-amd64)
Optionally run sudo setcap cap_net_bind_service=+ep /usr/local/bin/syncthing if you ever want to bind the GUI to port 80 or 443 without root.
Option C: containerised (cleanest, server-style)
If you are deploying on a headless box (a NAS, a VPS, a Docker host), the official image on Docker Hub is well maintained:
docker run -d --name syncthing
  -p 8384:8384 -p 22000:22000/tcp -p 22000:22000/udp
  -p 21027:21027/udp
  -v ~/.local/state/syncthing:/var/syncthing
  --restart=unless-stopped
  syncthing/syncthing:latest
-p 22000/tcp and 22000/udp are required for the actual sync traffic. 21027/udp is the LAN-local discovery port. If you skip the UDP ones, Syncthing still works, but only via the global relay servers — slower and slightly less private.
Configure and run as a systemd user service
The recommended way to run Syncthing on Linux in 2026 is as a systemd user service. That gives you auto-start on boot (without root), per-user logs, and clean systemctl --user controls.
First, start it once interactively to generate the config and pick up the GUI URL from the log:
syncthing
# watch the last few lines — you'll see a line like:
# [TXT-NNNN] GUI URL: http://127.0.0.1:8384/
# Ctrl+C to stop, we want the service now
Then enable the bundled service template (Debian/Ubuntu/Fedora ship it; for tarball installs you can copy it from the docs):
systemctl --user enable syncthing
systemctl --user start syncthing
systemctl --user status syncthing
loginctl enable-linger $USER    # so it survives logout
Open http://127.0.0.1:8384 in a browser. The first thing the GUI greets you with is a warning that the API is unauthenticated — proceed past it for now (we will lock it down below).
Pair your first two devices
Syncthing pairs devices by exchanging Device IDs. On device A (your laptop), open the GUI and click Actions → Show ID. You will see a 56-character base32 string starting with something like MFFXI.... Copy it.
On device B (your desktop), open http://127.0.0.1:8384, click Add Remote Device in the bottom-right Remote Devices panel, paste device A’s ID, give it a friendly name, and save. Device A will pop up a “New Device” prompt — accept it. You now have two trust-linked peers.
Repeat in reverse so both devices see each other in their Remote Devices panel.

AI-generated illustration (not an official screenshot) of bidirectional, encrypted sync between two folders.
Share your first folder
On device A, click Add Folder, give it a label like Notes, point the Folder Path at something real like /home/you/Notes, and under the Sharing tab tick device B’s name. Save.
On device B, accept the new folder prompt. By default it will offer to create the folder at the same relative path, which on Linux means /home/you/Notes — confirm.
Drop a file in /home/you/Notes on device A. Within a few seconds, the file appears on device B, and the Web GUI on both shows the folder state go from Syncing to Up to Date.
That is the core loop. Everything else is variations.
Things you actually want to set
A working install is not a hardened install. Spend ten minutes on these and call it a day.
Lock down the GUI. Open Actions → Settings → GUI, set a username, set a password, switch the listen address from 127.0.0.1:8384 to 0.0.0.0:8384 only if you know what you are doing, and enable HTTPS. If you must expose the GUI on a LAN, at minimum turn on GUI → Authentication: username + password and put a reverse proxy (Caddy, Nginx) in front.
Pick the right folder type. For one-way pushes (a recordings/ folder you only write to on device A) use Send Only. For one-way pulls (a backups/ destination) use Receive Only. For everything else, leave the default Send & Receive.
Enable ignore patterns to keep junk out of the sync. A sensible starter in Folder → Ignore Patterns:
# OS / editor cruft
**/.DS_Store
**/Thumbs.db
**/*.swp
**/.*~

# Build outputs
**/node_modules
**/target
**/__pycache__
**/.cache
Enable the Versioning → Staggered File Versioning in the folder’s Advanced settings. The default keeps ~5% of your folder size as rolling history. It saves you the day a script nukes half your notes folder.
Check the Global Discovery and Anonymous Usage Reporting toggles if you have a strong opinion about either. Both default to on, both can be turned off in Settings → Connection.
What about when both devices are not on the same LAN?
Two Syncthing devices on the same Wi-Fi talk directly. When they are not, they fall back to one of the project’s relay servers. This works, but it costs throughput and puts your encrypted traffic through a third party (which cannot read it, but still).
For most home setups, the built-in relay is fine. If you sync multi-gigabyte files often from mobile data, consider running your own relay on a small VPS — the docs cover it under Infrastructure → Relay Protocol. There is also a reverse-proxy / port-forwarding path: forward TCP 22000 from your router to the Syncthing box, and direct connections will work even across networks without any relay.
When Syncthing is not the answer
It is easy to over-recommend. Be honest:
- If you only have two devices and rarely edit on both, a
gitrepo with a remote may give you more (history, branches, conflict markers) for the same operational cost. - If you need files available offline on a phone that is rarely online, look at Syncthing-Fork on Android (the official Android client was pulled from Play in 2024). The iOS path is supported via Möbius Sync, which is third-party.
- If your team needs shared documents with comments and presence, that is a wiki problem, and a sync tool will not help.
For “my laptop and my desktop should just have the same ~/Notes folder, dammit,” though, Syncthing 2.1 still wins in 2026.
Verdict
Syncthing 2.1 is a rare thing — a project twelve years old, still under active releases (2.1.3 just shipped), with a Linux story that genuinely improved in 2025–2026 rather than regressing. The default install is one dnf install or one tarball extract away. Once you accept that there is no central cloud to lean on, the user model is simple: pair devices by ID, share folders by name, and let the daemon do the rest. For anyone who has spent the last five years accumulating notes, photos, dotfiles, and ~/Documents across more machines than they would like to admit, it remains the best self-hosted answer.
Get it at: https://syncthing.net
Source code: https://github.com/syncthing/syncthing
Release notes for 2.1.3: https://github.com/syncthing/syncthing/releases
Comments