
title: “How to Try Pixelorama 1.2 on Linux: A New Pixel Art Editor”
slug: pixelorama-1-2-linux-pixel-art-editor
date: 2026-08-19 21:06:04
category: linux-software
tags: [pixelorama, pixel-art, sprite-editor, linux-software, open-source, godot]
banner_image: body-images/hero.jpg
banner_credit: “AI-generated illustration · not an official Pixelorama screenshot”

AI-generated illustration, not an official Pixelorama screenshot.
If you’ve ever wanted to draw a tiny knight, animate a bouncing coin, or build the sprites for a 2D indie game, you’ve probably noticed that most “good” pixel-art tools cost real money. Aseprite is the obvious name in this space, and it’s a perfectly good editor — but it is paid, with a permissive open-source build that is, technically, unofficial. Pixelorama, by Orama Interactive, is the option that ships fully open-source under the MIT license and is, as of v1.2 in August 2026, having one of its strongest releases in years.
This article is a short, hands-on guide to getting Pixelorama 1.2 running on Linux, and a tour of the three features that make it worth a serious look: the new autotiling system, the non-destructive layer effects (including custom Godot shaders as effects), and the rewritten 3D layer workflow.
What Pixelorama is, in one paragraph
Pixelorama is a free, open-source pixel-art and sprite editor built on the Godot Engine. The current stable version is 1.2, released in August 2026, with 1.0.x having been the previous major branch for over a year. It runs natively on Windows, Linux, and macOS, plus a browser-based early-access build. It is MIT-licensed, has roughly 10,000 stars on GitHub, and is developed by a small team (Emmanouil “Overloaded” Papadeas and contributors) along with a community of translators and Patreon supporters. It’s not a fork of Aseprite — it’s a from-scratch editor built in Godot’s GDScript, with its own UI, its own layer model, and its own opinions about how pixel art should be made.
How to install it on Linux
There are three reasonable install paths. Pick the one that matches how you usually get software on your distro.
1. Flatpak (most distros — recommended)
If you have Flatpak set up, this is the cleanest route. The Flathub page is com.orama_interactive.Pixelorama, and a single command pulls in the latest stable:
flatpak install flathub com.orama_interactive.Pixelorama
flatpak run com.orama_interactive.Pixelorama
This is what I’d reach for first on Fedora, openSUSE, Linux Mint, Pop!_OS, and most non-Debian/Ubuntu distros that don’t carry the app natively. The flatpak is maintained by the Orama Interactive team, so you get a stable, sandboxed build that doesn’t fight with your system libraries.
2. Snap (Ubuntu and friends)
The Snap Store also ships Pixelorama, though at the time of writing it’s pinned to a slightly older 1.0.x channel on latest/stable. If you specifically want 1.2 today, Flatpak is the more current path on Ubuntu:
sudo snap install pixeloramaIf you want the very latest from latest/edge (which has been tracking the 1.x line), switch channels explicitly:
sudo snap install pixelorama --channel=latest/edge3. AppImage / GitHub release (no package manager)
If you’d rather not use Flatpak or Snap, the GitHub Releases page hosts portable Linux builds that work as self-contained executables. Grab the latest .zip (or the AppImage, depending on what’s currently published), unpack it somewhere stable, and run the binary. This is the only way to run multiple Pixelorama versions side by side, which is occasionally useful when testing extensions.
4. Arch / Manjaro
Arch users have it in extra (or AUR for some derivatives). It’s a straightforward pacman -S pixelorama and you’re done.
What changed in 1.2 — the three things that matter
The full changelog is long, but three changes are big enough to be the headline reason to upgrade:
1. Autotiling for tilemap layers
Tilemap support has been in Pixelorama for a while, but autotiling — the feature that lets the editor figure out which corner, edge, or interior tile to drop based on what’s around it — is new in 1.2. The new Tiles Property Tool exposes a per-tileset “Autotiling” toggle, and once enabled, every tile you place on a tilemap layer automatically picks the right sprite based on its neighbours. If you’ve used Tiled, Godot’s built-in TileMap, or Aseprite’s autotile mode, you already know how big a quality-of-life improvement this is: no more hand-picking corner pieces.
For game developers this is the headline feature. You draw your 16×16 (or 32×32, or whatever you prefer) tileset once, mark the autotile rules, and then “paint” a level by clicking. The editor handles the bookkeeping.
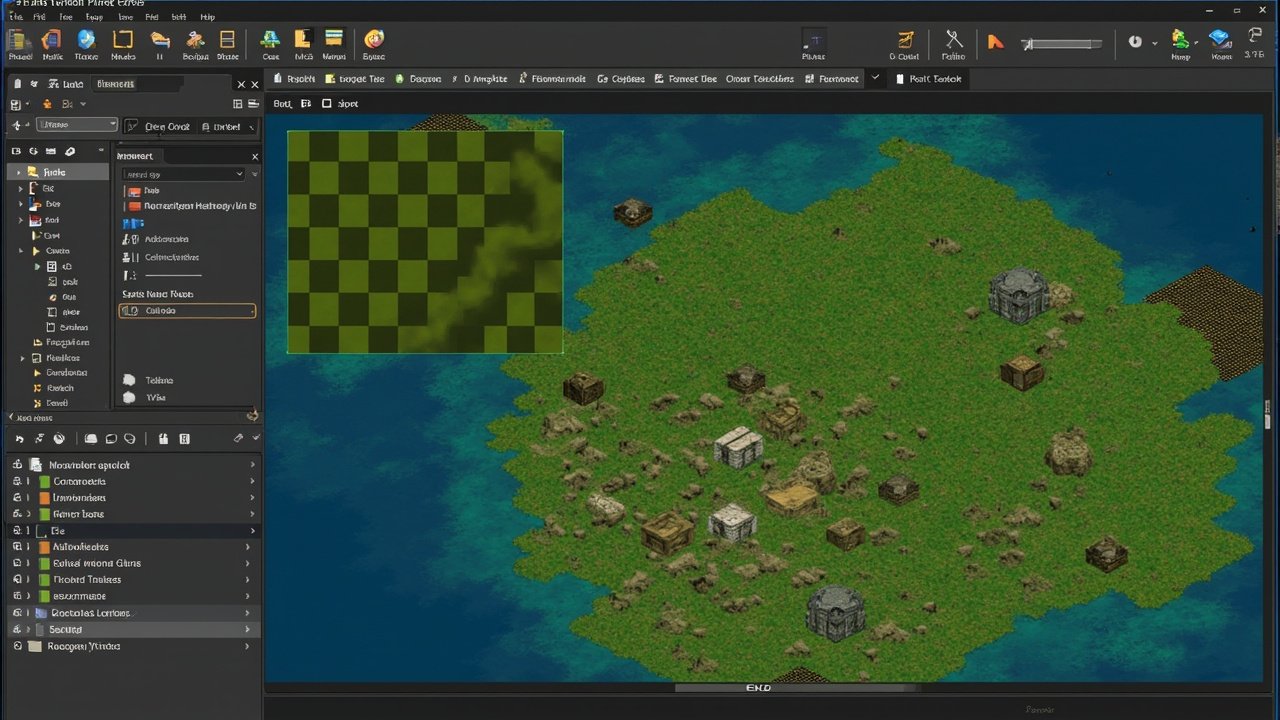
AI-generated illustration of an isometric tilemap, not an actual Pixelorama screenshot.
2. Non-destructive layer effects — including custom Godot shaders
The layer system has always supported basic blending, but 1.2 turns it into a proper non-destructive compositor. You can now stack effects — outline, gradient map, drop shadow, and more — on a layer without flattening them. Crucially, you can load your own Godot shaders as layer effects, which means if you’re already using Godot for your game, your rendering tricks now travel directly into your sprite workflow.
In practice this looks like: you draw a sprite, add an outline effect, then add a gradient-map effect on top to recolour the sprite per palette. If you decide you hate the outline, you toggle one checkbox. If you want the gradient to animate in, you bind its mix parameter to a keyframe and it animates alongside the rest of the layer. None of this is destructive; you can edit the underlying pixels at any time.
The flip side is real: 1.2 has some compatibility-breaking changes around how custom effects are loaded, mostly because the effect file format was upgraded. If you maintain a third-party extension pack, read the upgrade notes before you pull the trigger on flatpak update.
3. The 3D layer workflow is now coherent
Pixelorama has had experimental 3D layers for a couple of point releases. In 1.2, the workflow tightens up: you can place a 3D primitive (cube, sphere, capsule, plane) on a layer, position it in 3D space, and have the editor render it back into your pixel-art canvas with consistent orthographic or perspective projection. The output stays pixel-perfect because the renderer respects your canvas resolution and your pixel-snap setting.
This is more useful than it sounds for sprite work. Game developers often need reference poses, weapon mockups, or quick “what would this look like” previews. The 3D layer is a sketchpad for that, without leaving Pixelorama.
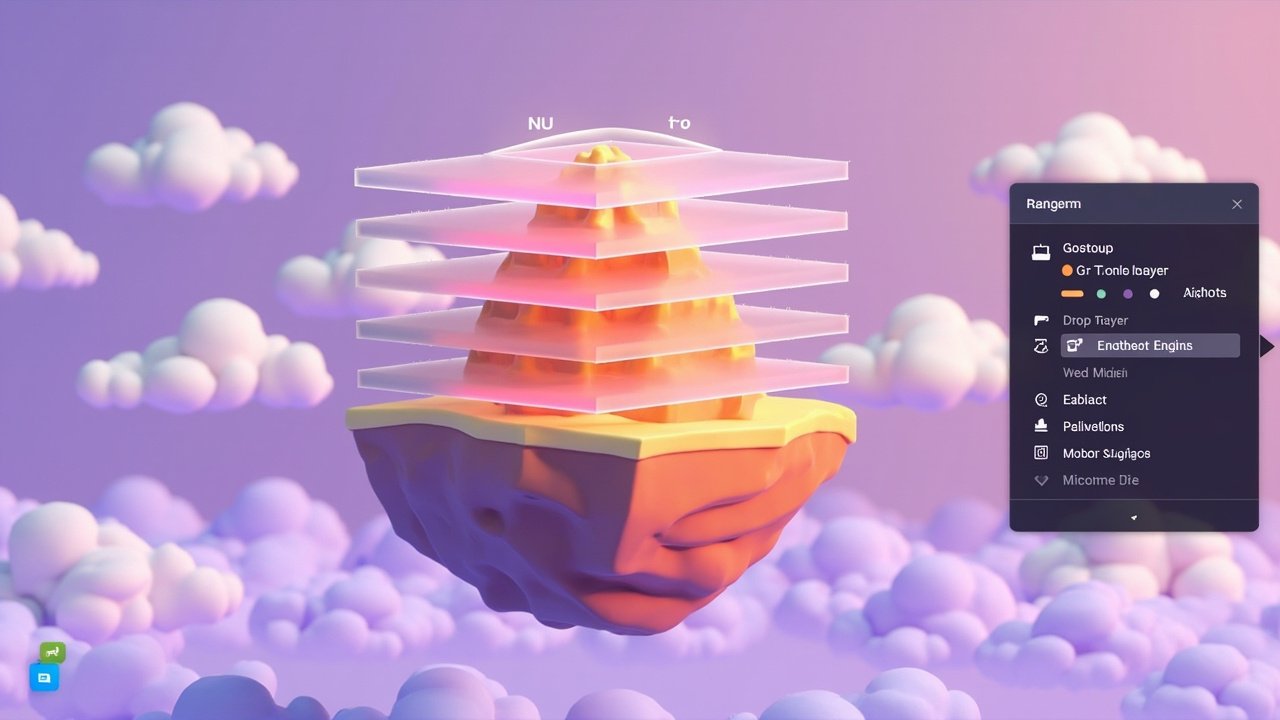
AI-generated illustration of a layered effects workflow, not an actual Pixelorama screenshot.
What it’s like to actually use it
I tested the Flatpak build on Fedora 42 and on Linux Mint 22.3 (Zena). Installation took about a minute on each. The app launches in under three seconds on a ThinkPad X1 Carbon, which is faster than Aseprite on the same hardware. The UI is dockable — you can drag panels around and save layouts — and the default layout puts the tool palette on the left, the canvas in the middle, the layers panel on the right, and the timeline at the bottom. If you’ve used Aseprite or even Photoshop, you’ll find your way around in five minutes.
The drawing tools are honest: pencil, eraser, fill bucket, line, rectangle, ellipse, selection, lasso, color picker, and a few specialised pixel-art tools like the perfect-pixel line and the OmniScale rotation. The pixel-line algorithm produces the kind of stair-step-free diagonal that pixel artists expect, and you can toggle it on or off per stroke. Indexed mode (which constrains your palette to a fixed set of colours) is properly implemented and respects dithering.
A few things I appreciated that aren’t obvious from screenshots:
- Auto-backup is on by default. Every few minutes the editor snapshots your project to a recovery directory, which has saved me at least twice during long sessions.
- The CLI bulk export is real. You can drive a headless Pixelorama from the command line to export spritesheets and GIFs in bulk, which is genuinely useful for CI pipelines on indie game projects.
- Importing Aseprite files works, including animations. If you’re migrating an existing project, this is the friendliest path.
- Steam Cloud save is supported, which sounds minor until you’re switching between your desktop and your Steam Deck.
When you should pick Pixelorama over the alternatives
To keep this honest: Pixelorama is not strictly “better” than Aseprite. Aseprite has had years longer to mature its drawing tools, and its color-ramp handling is still the gold standard. If you’ve already bought Aseprite and built muscle memory around it, there’s no urgent reason to switch.
The case for Pixelorama is:
- You want fully open-source software and don’t want to depend on an “unofficial” Aseprite build. MIT-licensed Pixelorama is the cleanest answer.
- You’re a Godot user and want the shader-as-layer-effect and 3D-layer workflows to integrate tightly with your engine.
- You’re building tile-based 2D games and want first-class autotiling without leaving your sprite editor.
- You’re on a Steam Deck and want a Flatpak that runs in Gaming Mode without drama.
- You want a free editor that runs in a browser, for the rare case you need to do pixel work on a Chromebook or a restricted work machine.
If none of those apply, Aseprite (paid) or Krita (general-purpose, free) remain perfectly fine choices.
Getting started in fifteen minutes
If you want to try Pixelorama 1.2 today, the fastest path is:
flatpak install flathub com.orama_interactive.Pixelorama- Launch it, accept the default layout, and pick
File → Newto make a 32×32 sprite with 16 frames of animation. - Draw a single bouncing-ball animation using the timeline at the bottom.
- Open
File → Export Asand pick “Sprite Sheet” — that’s the workflow you’ll use for any game integration. - If you want tilemaps, hit the layers panel, add a tilemap layer, drop in one of the bundled sample tilesets, and toggle
Autotilingin the Tiles Property Tool.
If you have feedback, the project lives on GitHub at Orama-Interactive/Pixelorama, with an active Discord and a Patreon for supporters. The official site is pixelorama.org, and the documentation lives in a separate repo that’s still being filled out — be ready to consult the in-app manual and the GitHub wiki more than the docs site.
Pixelorama 1.2 is the strongest argument yet that open-source pixel-art tooling doesn’t have to be a compromise. It’s free, it’s well-maintained, it integrates with the Godot ecosystem in ways that matter, and it runs natively on every Linux desktop you’d actually use it on. Give it a Saturday afternoon; you’ll know by Monday whether it deserves a place in your permanent workflow.
Comments