
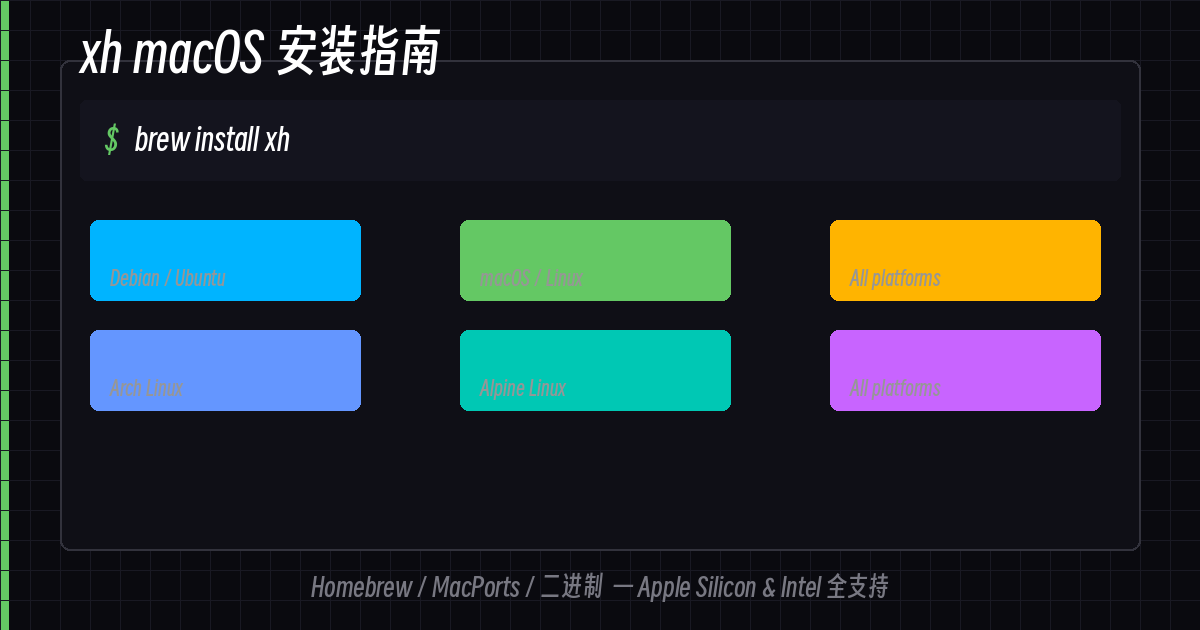
macOS 用户装 xh 比 Linux 还简单,Homebrew 一个命令搞定。如果你用的是 Apple Silicon(M1/M2/M3)或 Intel,都能直接跑。nn
nn
Homebrew(推荐)
nnHomebrew 是 macOS 最流行的包管理器,xh 在主仓库里:nn
brew install xhnnn装完验证:nn
xh --versionnnn
nn
MacPorts
nn如果你用 MacPorts:nn
sudo port install xhnnn
nn
安装脚本(通用)
nn不想用包管理器?一条命令搞定:nn
curl -sfL https://raw.githubusercontent.com/ducaale/xh/master/install.sh | shnnn装到 $HOME/.local/bin/ 下,然后:nn
export PATH="$HOME/.local/bin:$PATH"nxh --versionnnn可以把上面那句加到 ~/.zshrc 或 ~/.bash_profile 里永久生效。nn
nn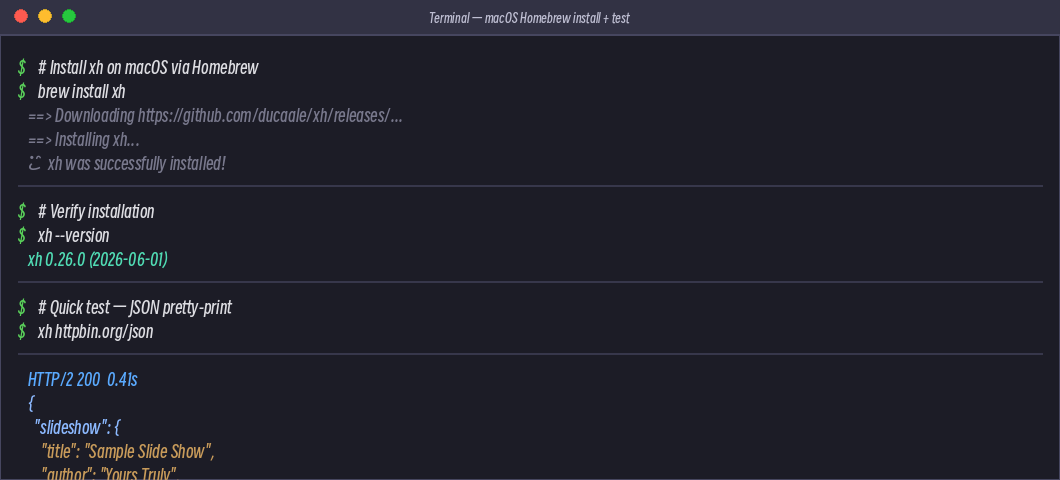 nn
nn
下载二进制
nn去 Release 页面 找 macOS 版本:nn
VERSION=$(curl -s https://api.github.com/repos/ducaale/xh/releases/latest | grep -o '"tag_name": "[^"]*' | cut -d'"' -f4)ncurl -LO "https://github.com/ducaale/xh/releases/download/${VERSION}/xh-${VERSION}-x86_64-apple-darwin.tar.gz"ntar -xzf xh-*.tar.gzn# 移到 PATH 里nmv xh /usr/local/bin/nxh --versionnnn
n Apple Silicon Mac 用户找
aarch64-apple-darwin版本;Intel Mac 找x86_64-apple-darwin。n
nn
nn
和 Linux 版共存
nn如果你和我一样,Linux 服务器和 macOS 本机都要用 xh,可以把二进制下载下来丢进 PATH,Homebrew 和系统命令互不干扰。nn
nn
Apple Silicon vs Intel
nn
| 芯片 | 下载架构 |
|---|---|
| Apple M1/M2/M3/M4 | aarch64-apple-darwin |
| Intel Mac | x86_64-apple-darwin |
nn用 uname -m 可以确认:nn
uname -mn# arm64 → Apple Siliconn# x86_64 → Intelnnn
nn
快速上手
nn
# GET 请求nxh https://httpbin.org/jsonnn# POST 带 JSONnxh post https://httpbin.org/post name=macos age:=4nn# 查看帮助nxh --helpnnnmacOS 自带 zsh,tab 补全可以用 Homebrew 提供的:nn
# Homebrew 自动配置补全nbrew install xh # 完成后会提示如何启用nnn
nn
总结
nn
| 方式 | 命令 |
|---|---|
| Homebrew(推荐) | brew install xh |
| MacPorts | sudo port install xh |
| 安装脚本 | curl -sfL .../install.sh | sh |
| 手动二进制 | Release 页面下载对应架构版本 |
nnmacOS 安装比 Linux 简单多了,基本不需要操心依赖问题。xh 的 macOS 版打包得很好,装完直接用。nn英文版介绍和使用指南也在路上了,有兴趣的可以等后续。